Skip to content
Premium Touch renovation gallery

Premium Touch Inc

Our Standard

The details to discuss, document and check throughout your renovation.

Our Craft. Our Commitment.

Clarity before construction.

Premium Touch is owner-operated. Start with a conversation about your space, priorities and what a successful result looks like to you.

A renovation is more than its finishes. The scope, access arrangements, decisions and final checks deserve the same attention as the visible work.

Explore the project process →

What to put in writing

A shared reference for your project.

01

Define the work

Identify the rooms, surfaces and systems involved. Ask for a clear distinction between work included in the proposal, exclusions and decisions that still need to be made.

  • Materials and finishes, with selections or allowances identified.
  • Removal, installation and disposal responsibilities.
  • Existing conditions that may need investigation before a final scope is agreed.
02

Plan around the property

Discuss protection for retained finishes, access routes, deliveries and the parts of the property that need to remain usable.

  • Whether the home will be occupied during the work.
  • Building access rules, work hours and approval requirements to confirm.
  • Where tools, materials and removed items can be stored.
03

Keep changes visible

A different fixture or a newly discovered condition can affect more than one trade. Before agreeing to a change, discuss its scope, cost and schedule impact together.

  • The decision needed and who will approve it.
  • Any revised materials or drawings.
  • The effect on work already planned.
04

Inspect the finished details

Use the final walk-through to check both appearance and operation. Record remaining items rather than relying on memory.

  • Edges, transitions, paint touch-ups and visible finish consistency.
  • Operation and alignment of doors, hardware and fixtures.
  • Care information and any documents applicable to the completed work.
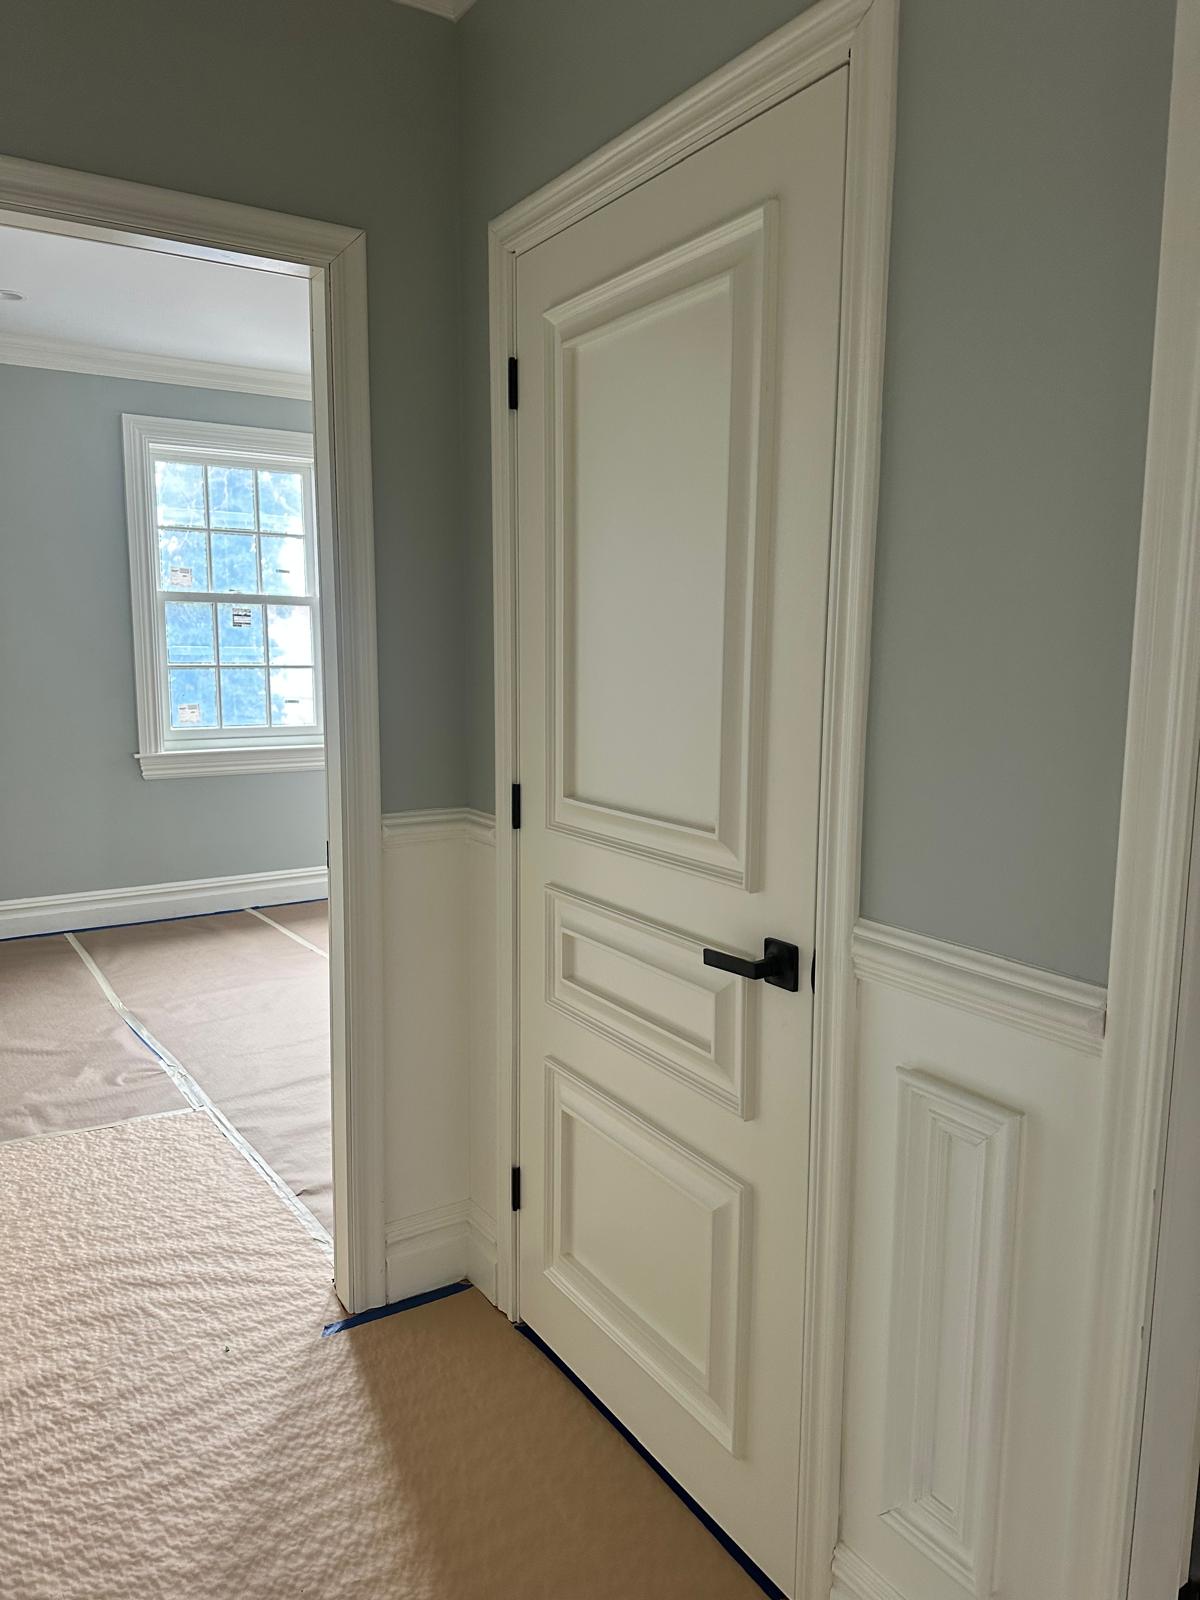
Paneled door, painted trim and flooring covered for protection

The details
make the difference.

01 / Protect the space

Protective coverings are visible across the floor in this gallery photo. For your project, discuss which surfaces need protection and how access will be maintained.

02 / Finish the transitions

Door casing, baseboards and wall trim meet in one small area. Include edges, joints and paint touch-ups in your final walk-through.

03 / Check the small touches

Handles and hinges complete the door. Check the operation, alignment and finish of fixtures alongside the larger surfaces.

Bring your priorities into a project plan →

Premium Touch Inc

Bring your project into focus.